Many FPV beginners often encounter this question: Why can't I fly my newly purchased FPV drone right out of the box? This is because the drone you bought is not an RTF (Ready-to-Fly) version, but rather a BNF (Bind-and-Fly) or PNP (Plug-and-Play) version. These two versions are extremely common in the FPV drone industry, and they represent essential choices you must make when selecting a Droneer FPV drone.
In this article, we will introduce you to BNF & PNP FPV drones in detail, explain the differences between BNF and PNP, and determine the additional equipment you need to prepare so that you can enjoy the fun of flying!
What is Droneer BNF & PNP?
What is the PNP FPV Drones?
PNP stands for Plug-and-Play, indicating that the drone has completed basic hardware installation, but certain key modules require user installation. For example, the receiver, video transmission module, and FPV camera are not included in the PNP version.
The PNP version of the drone typically includes the following components (using the Droneer C2501 as an example):
- Frame - Loop Type
- Motors - Droneer 1404 3650KV
- Flight Controller - F722
- ESC - 40A BLHeli_S
- Propellers - HQ Prop DT63
Droneer C2501 PNP Drones Includes Frame
However, the following devices require installation by the user:
- Receiver
- FPV Camera
- Video Transmission System (VTX)
- VTX Antenna
- GPS Module (select models)
The Droneer PNP version allows users to select compatible video transmission or receiver equipment for DIY assembly, offering a cost-saving option for those who already own some gear. However, this version is generally not recommended for beginners, as it often requires self-assembly and involves certain technical and equipment requirements.
What is the BNF FPV Drones?
BNF stands for Bind-and-Fly, meaning that the drone has most of its flight system installed, and all you need to do is prepare the batteries and bind the remote controller to fly.
The Droneer BNF versions typically include the following key components, which you do not need to prepare separately (Taking Droneer X701 as an example):
- Flight Controller - Droneer H743 FC
- Electronic Speed Controller (ESC) - Droneer 65A 4in1 ESC
- Motor - Droneer 2808 1250KV
- Video Transmission System (VTX) - O4 Pro/Analog
- FPV Camera - O4 Pro/FOXEER Micro Toothless
- Receiver - O4 Pro/Droneer ELRS/TBS 915
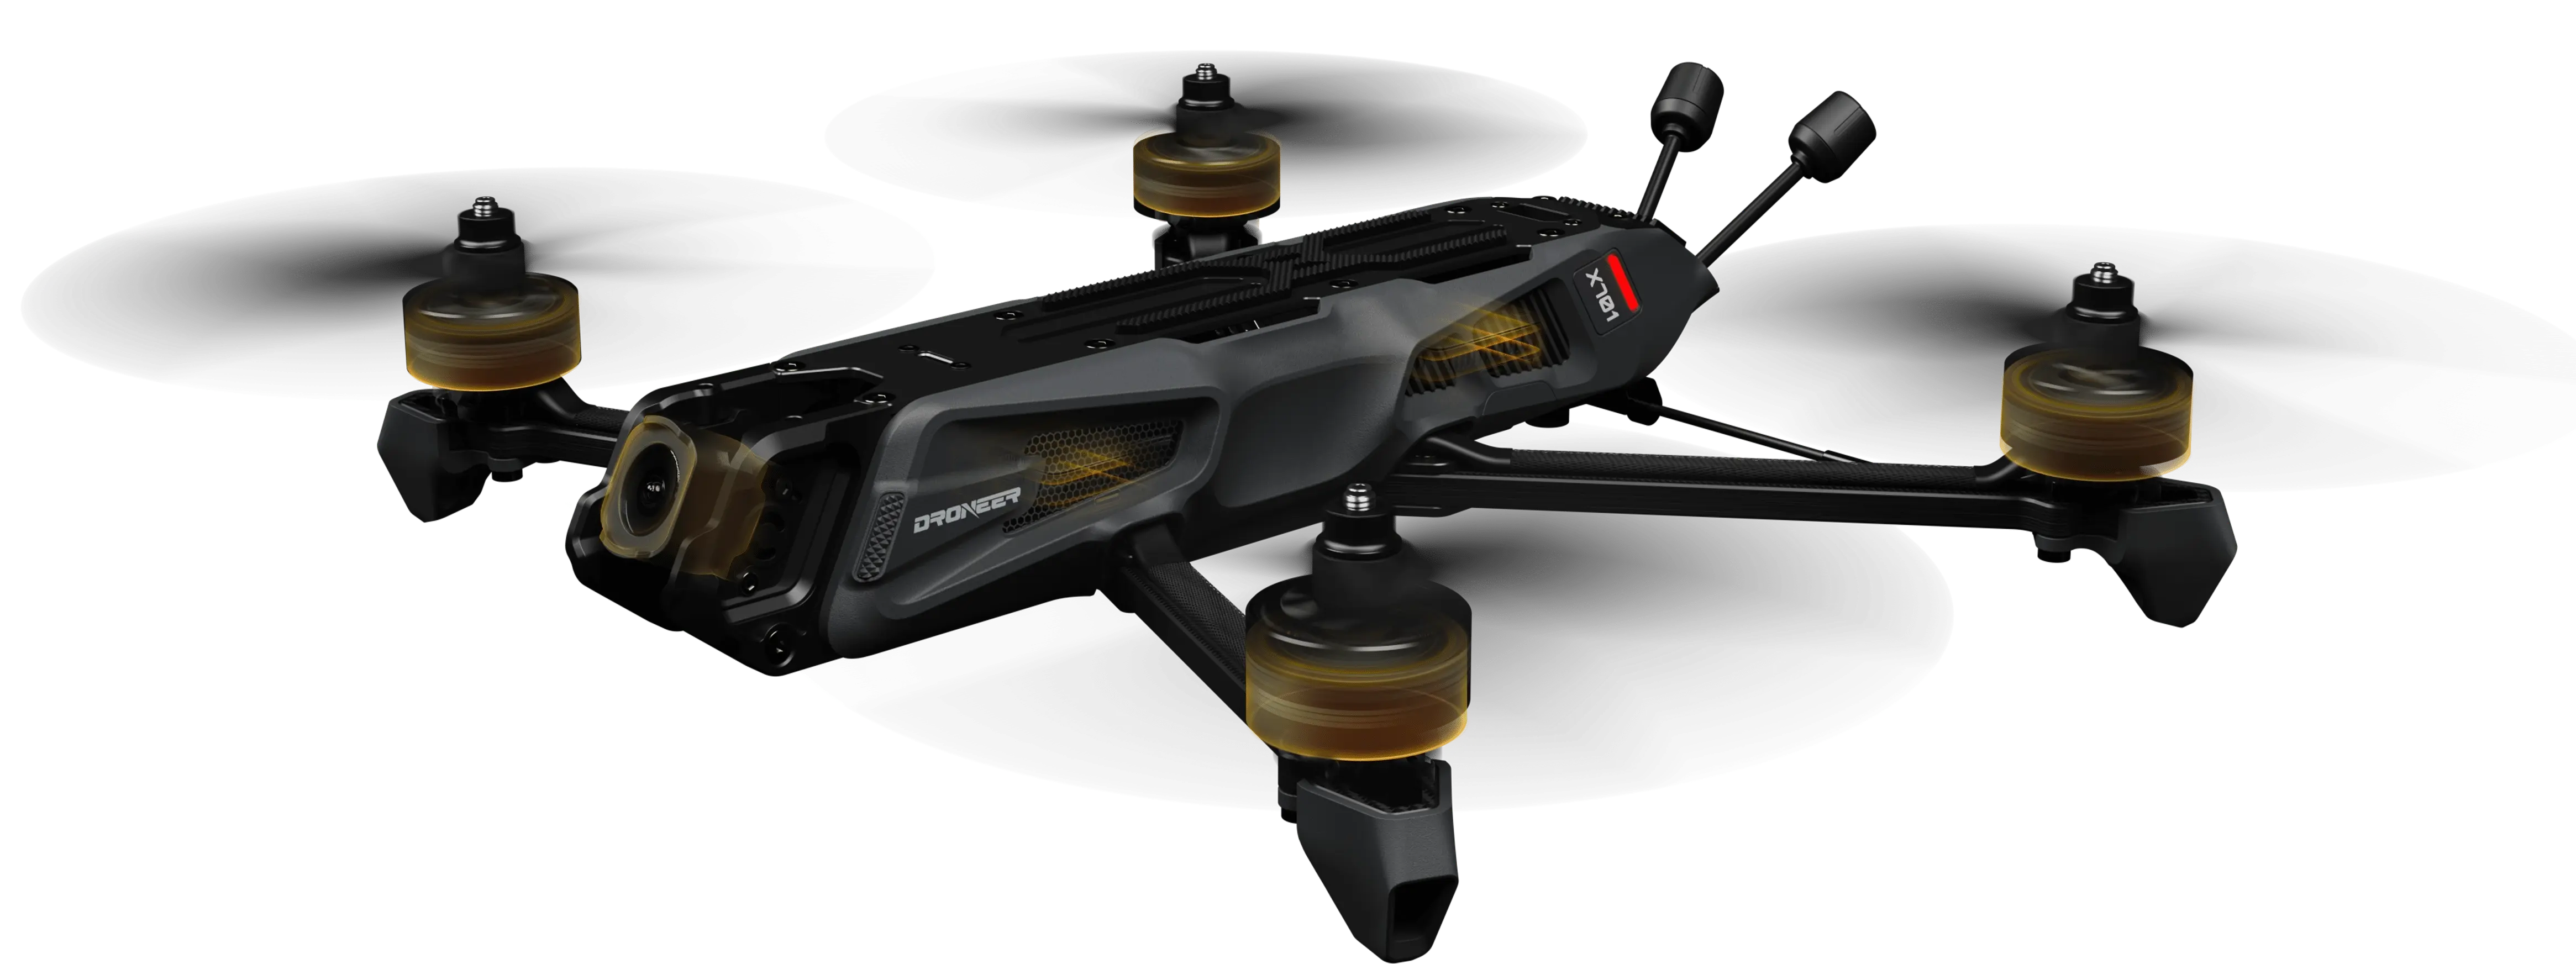
Droneer X701 BNF Drone Includes VTX and Camera
However, in order to ensure the normal flight of the drone, you will also need to prepare the following:
- Remote Control
- FPV Goggles
- Battery
Droneer BNF FPV drones are also categorized by version based on their video transmission systems and supported remote controller protocols. This type of drone is more suitable for FPV beginners, offering essentially plug-and-fly functionality once connected to a remote controller. It's also ideal for pilots seeking a quick introduction to the joy of flying.
Droneer BNF VS PNP: Key Differences
| Core Components/Dimensions | BNF Version (Bind-N-Fly) | PNP Version (Plug-N-Play) | User Must Provide/Add-On Recommendation |
| Frame & Core Power | ✅ Pre-installed (Droneer Premium Frame) | ✅ Pre-installed (Droneer Premium Frame) | - |
| Motors | ✅ Installed (e.g., 2808 1250KV) | ✅ Installed (e.g., 2808 1250KV) | - |
| Flight Controller/ESC | ✅ Installed (e.g., H743 + 65A) | ✅ Installed (e.g., H743 + 65A) | - |
| Video Transmission System (VTX) | ✅ Built-in (Optional O4 Pro/Analog) | ❌ None (Reserved mounting and solder points) | Select corresponding VTX based on your FPV goggles |
| Camera | ✅ Installed | ❌ None | Requires pairing with video transmission system |
| Video Transmission Antenna | ✅ Installed | ❌ None | Requires matching video transmission interface |
| Receiver | ✅ Built-in (typically ELRS or TBS) | ❌ None | Must match your transmitter protocol |
| GPS Module | ✅ Standard on some models (long-endurance variants) | ❌ None (reserved solder pads) | recommended for long-distance pilots |
| Ease of Use | ⭐ (Beginner-friendly, plug-and-play) | ⭐⭐⭐ (Requires soldering and parameter tuning skills) | - |
| Hardware Flexibility | Low (Official standard configuration) | Extremely high (Customizable video/link setup) | - |
| Ideal For | Beginners wanting to fly immediately without hardware tinkering | Experienced pilots with existing video transmission/receiver equipment | - |
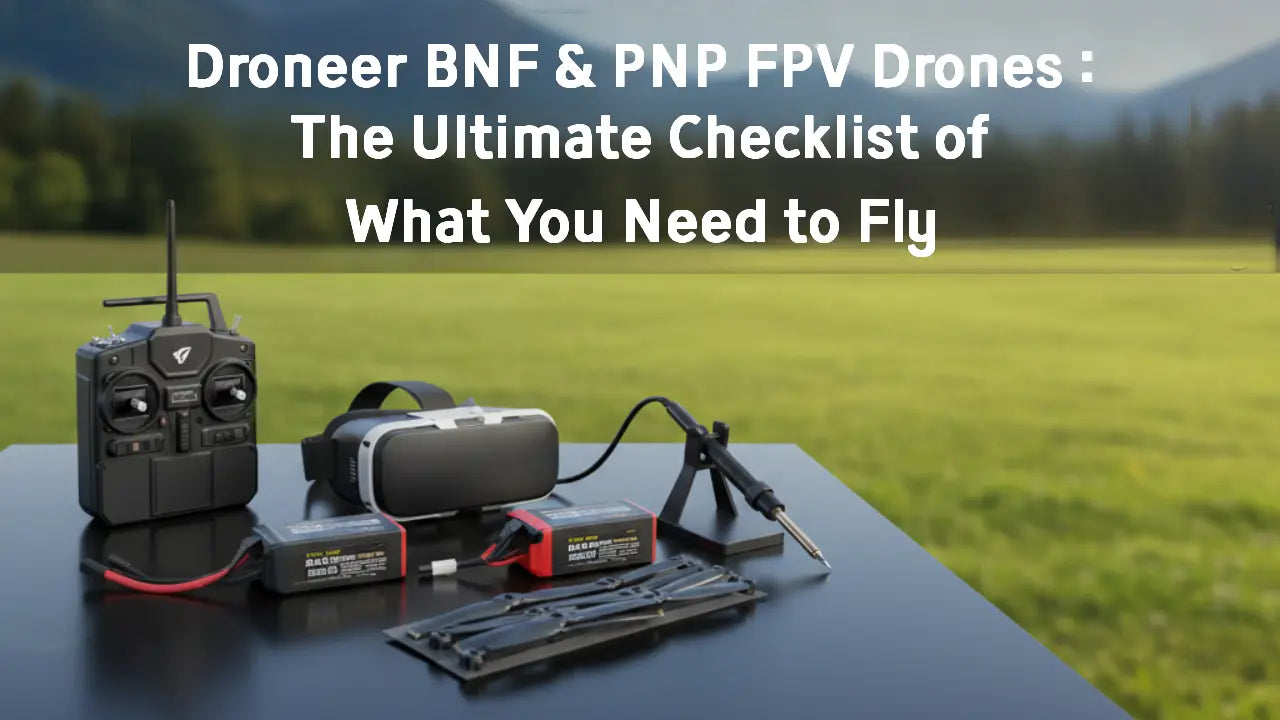
Essential Gear to Complete Your Droneer Setup
After a detailed understanding of the meaning and differences between BNF and PNP, we move on to the important part of this article: what equipment do you need to prepare to get your Droneer drone flying after purchasing a BNF or PNP version of the FPV drone?
Control link: Matching the Remote Controller and Receiver
The remote controller, as a tool for controlling the flight of FPV drones, is an essential device for taking off the PNP & BNF versions of the Droneer FPV.At the same time, the protocol of your remote controller must match the protocol of the receiver equipped with the Droneer to ensure the drone can be controlled normally.
- BNF Players: For BNF FPV drone pilots, the receiver requires no preparation; simply ensure your transmitter is compatible with the receiver's protocol.
- PNP Players: For PNP drone enthusiasts, both the transmitter and receiver must be prepared independently, along with the necessary soldering tools for assembly.
Visual Linkage—Choosing Video Transmitters and FPV Goggles
The Video transmission equipment serves as the eyes of a drone. By connecting to FPV goggles, you can view the scenery along the flight path and precisely avoid obstacles. Additionally, digital video transmission enables the capture of 4K high-definition video, facilitating aerial photography applications.
- BNF Players: The Droneer BNF FPV comes equipped with a video transmission system and camera, offering both analog and digital transmission options. Digital or analog? Here's a guide to help you decide. All you need to prepare is a pair of FPV goggles compatible with your chosen transmission system.
- PNP Players: The Droneer PNP version drone does not include a video transmission system or camera. These components must be prepared and assembled separately, and are compatible with your own FPV goggles.

Droneer BNF & PNP Drones are Compatible With DJI FPV Goggles.
Power Solution: Battery Specifications and Charging Safety
Droneer BNF & PNP FPV drones do not include batteries or chargers. As the primary power source for your drone, selecting and preparing compatible batteries and chargers is essential.
For Droneer FPV drones, different FPV models correspond to different battery capacity specifications:
- Droneer C2501: 650mAh 4S/850mAh 4S
- Droneer X501: 4500mAh 6S1P 80C Lithium-polymer battery/1500mAh 6S1P 120C Lithium-polymer battery
- Droneer X701: 4500mAh 6S1P 80C Lithium-polymer battery/9000mAh 6S2P 30C Lithium-ion battery
LiPo batteries require the use of a dedicated balance charger.
Add-ons & Tools: GPS, Paddles, and Essential Tools
Even if your core hardware is already in place, these “final pieces of the puzzle” determine your flight experience and safety:
- GPS Module: The PNP version does not include a GPS module, which is crucial for long-range FPV drones like the Droneer X701. Not only does it provide speed and altitude data, but it also triggers GPS Rescue (Return-to-Home mode) in the event of signal loss or motor malfunction.
- Spare Propellers: Propellers are the most frequently damaged components in FPV racing. It is recommended to keep several spare sets on hand for your motor shaft diameter (e.g., 5mm) to handle occasional crashes.
- Installation and Maintenance Tools: Tools such as an Allen screwdriver, Velcro straps, shock-absorbing pads, anti-slip tape, and a soldering iron are also required.

Droneer X701 BNF Drones Includes GPS Moduel
Droneer BNF vs PNP: Which Should Beginners Choose?
We have clarified what additional equipment is required for the Droneer BNF & PNP versions of FPV drones to fly properly. So, as consumers, how should we go about selecting and purchasing them?
- Choose the Droneer BNF Drone: If you are a drone beginner, the BNF version is highly recommended. This version is easy to set up, requires no soldering or installation of the image transmission system and receiver, and allows for rapid flight.
- Choose the Droneer PNP Drone: If you're an experienced FPV pilot with your own receiver and video transmission equipment, you can opt for the PNP version. This version offers greater flexibility, is better suited for DIY projects, and provides more room for upgrades.
Conclusion
In short, normal flight operations for Droneer BNF & PNP drones require additional equipment such as FPV goggles, remote controllers, batteries, chargers, and spare propellers. The PNP version additionally requires video transmission equipment, receivers, GPS modules, and soldering tools.
Ultimately, the right Droneer version depends on your technical preference, but both BNF and PNP offer top-tier performance that won’t let you down. Match your version with the right components, and you’ll have everything you need for a perfect flight experience.
Leave a comment
This site is protected by hCaptcha and the hCaptcha Privacy Policy and Terms of Service apply.